Running Orion's ETL
This tutorial walks you through Orion's ETL. It shows you how to modify Orion's DAG, collect, enrich and analyse data from Microsoft Academic Graph.
Get Orion
Clone the repository:
Modify model_config.yaml
model_config.yaml contains Orion's configuration parameters. Change the following:
- Database name
This is where Orion stores the MAG data.
2. MAG query parameters
We will query MAG with arxiv computation and language and specify that is a journal using the J.JN in the entity_name field. metadata contains all the MAG fields that Orion collects. We set the mag_start_date and mag_end_date to 2020-05-01 and 2020-05-30 respectively to collect papers published in May 2020. We will collect documents even if they do not have a DOI. We can specify this by setting the with_doi parameter to False.
3. S3 buckets
Set the S3 buckets that Orion will create and store intermediate data.
Modify the environmental variables in .env
Create a .env file in the root directory and add the above. Alternatively, you can modify the .env.example file and rename it to .env. .env contains the environmental variables used in Orion. For this tutorial, we define the PostgreSQL databases, the MAG API key, the AWS credentials and the environmental variables used in Docker.
To run the tutorial, you need to create an AWS account and get an API key for the Microsoft Academic Graph. See External Dependencies for details.
Build the docker container
Orion's ETL runs in a docker container. The docker-compose.yml has the instructions to create two containers; one for the PostgreSQL database and another one for Orion's data pipeline. Use the following command to build and run the containers:
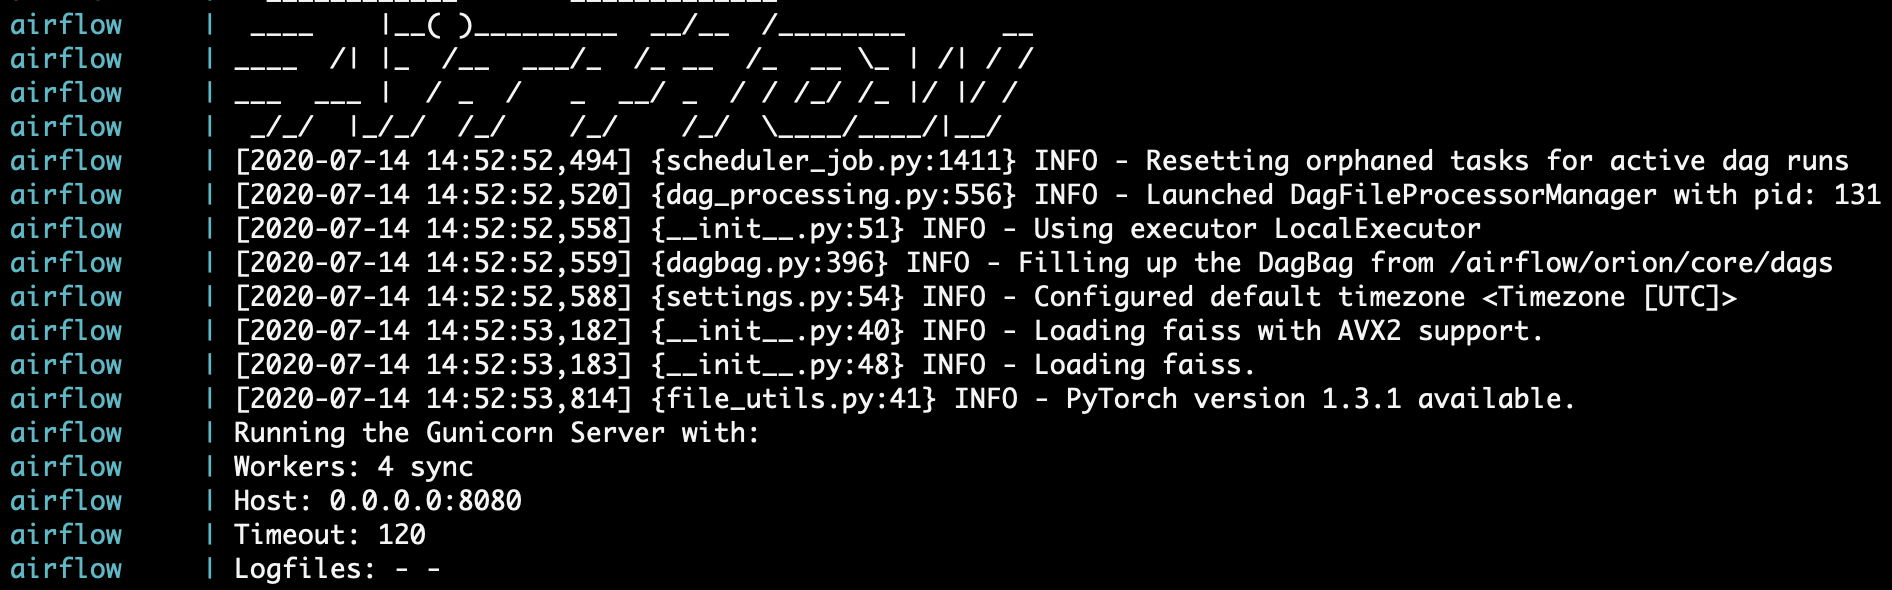
This should take some time to run. After the setup, you will receive a stream of messages about the PostgreSQL database and Airflow like the one below.
If you need to make changes in a file after running docker-compose up, you should do the following to update the docker container:
Run the DAG with Airflow's UI
Airflow is running locally and you can access it at:
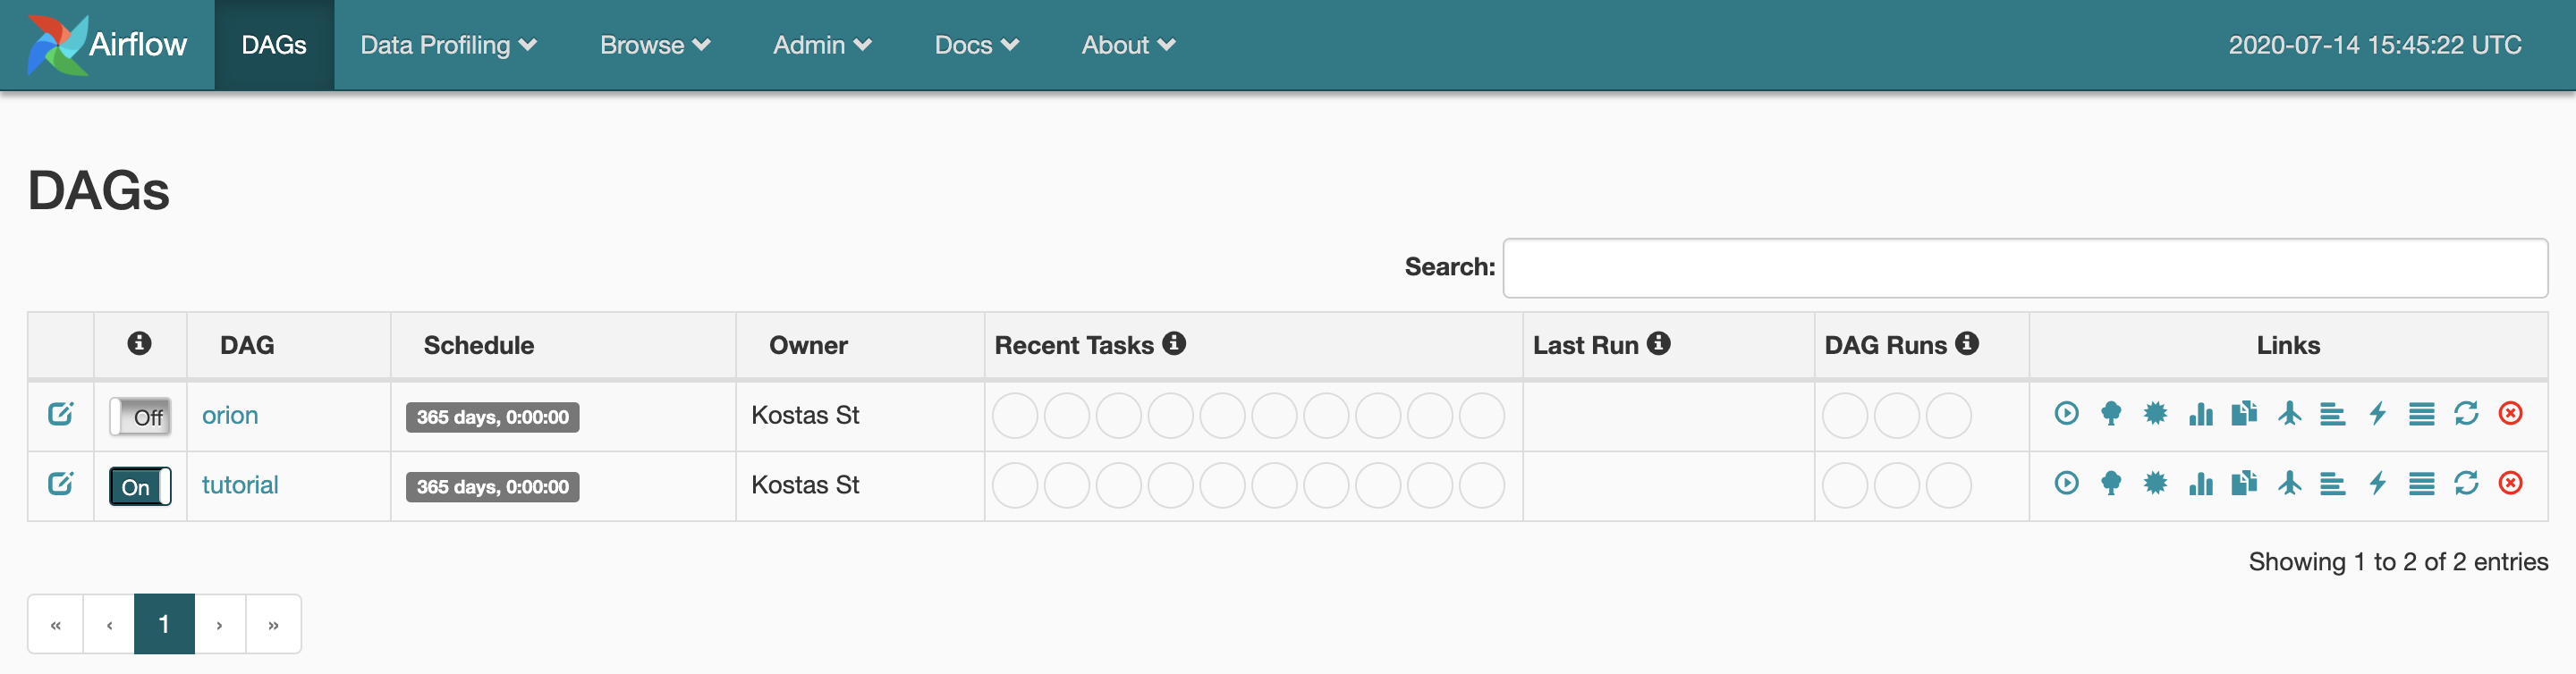
Here, you can see all the DAGs in the orion/core/dags directory. Turn on the tutorial DAG and click on it.
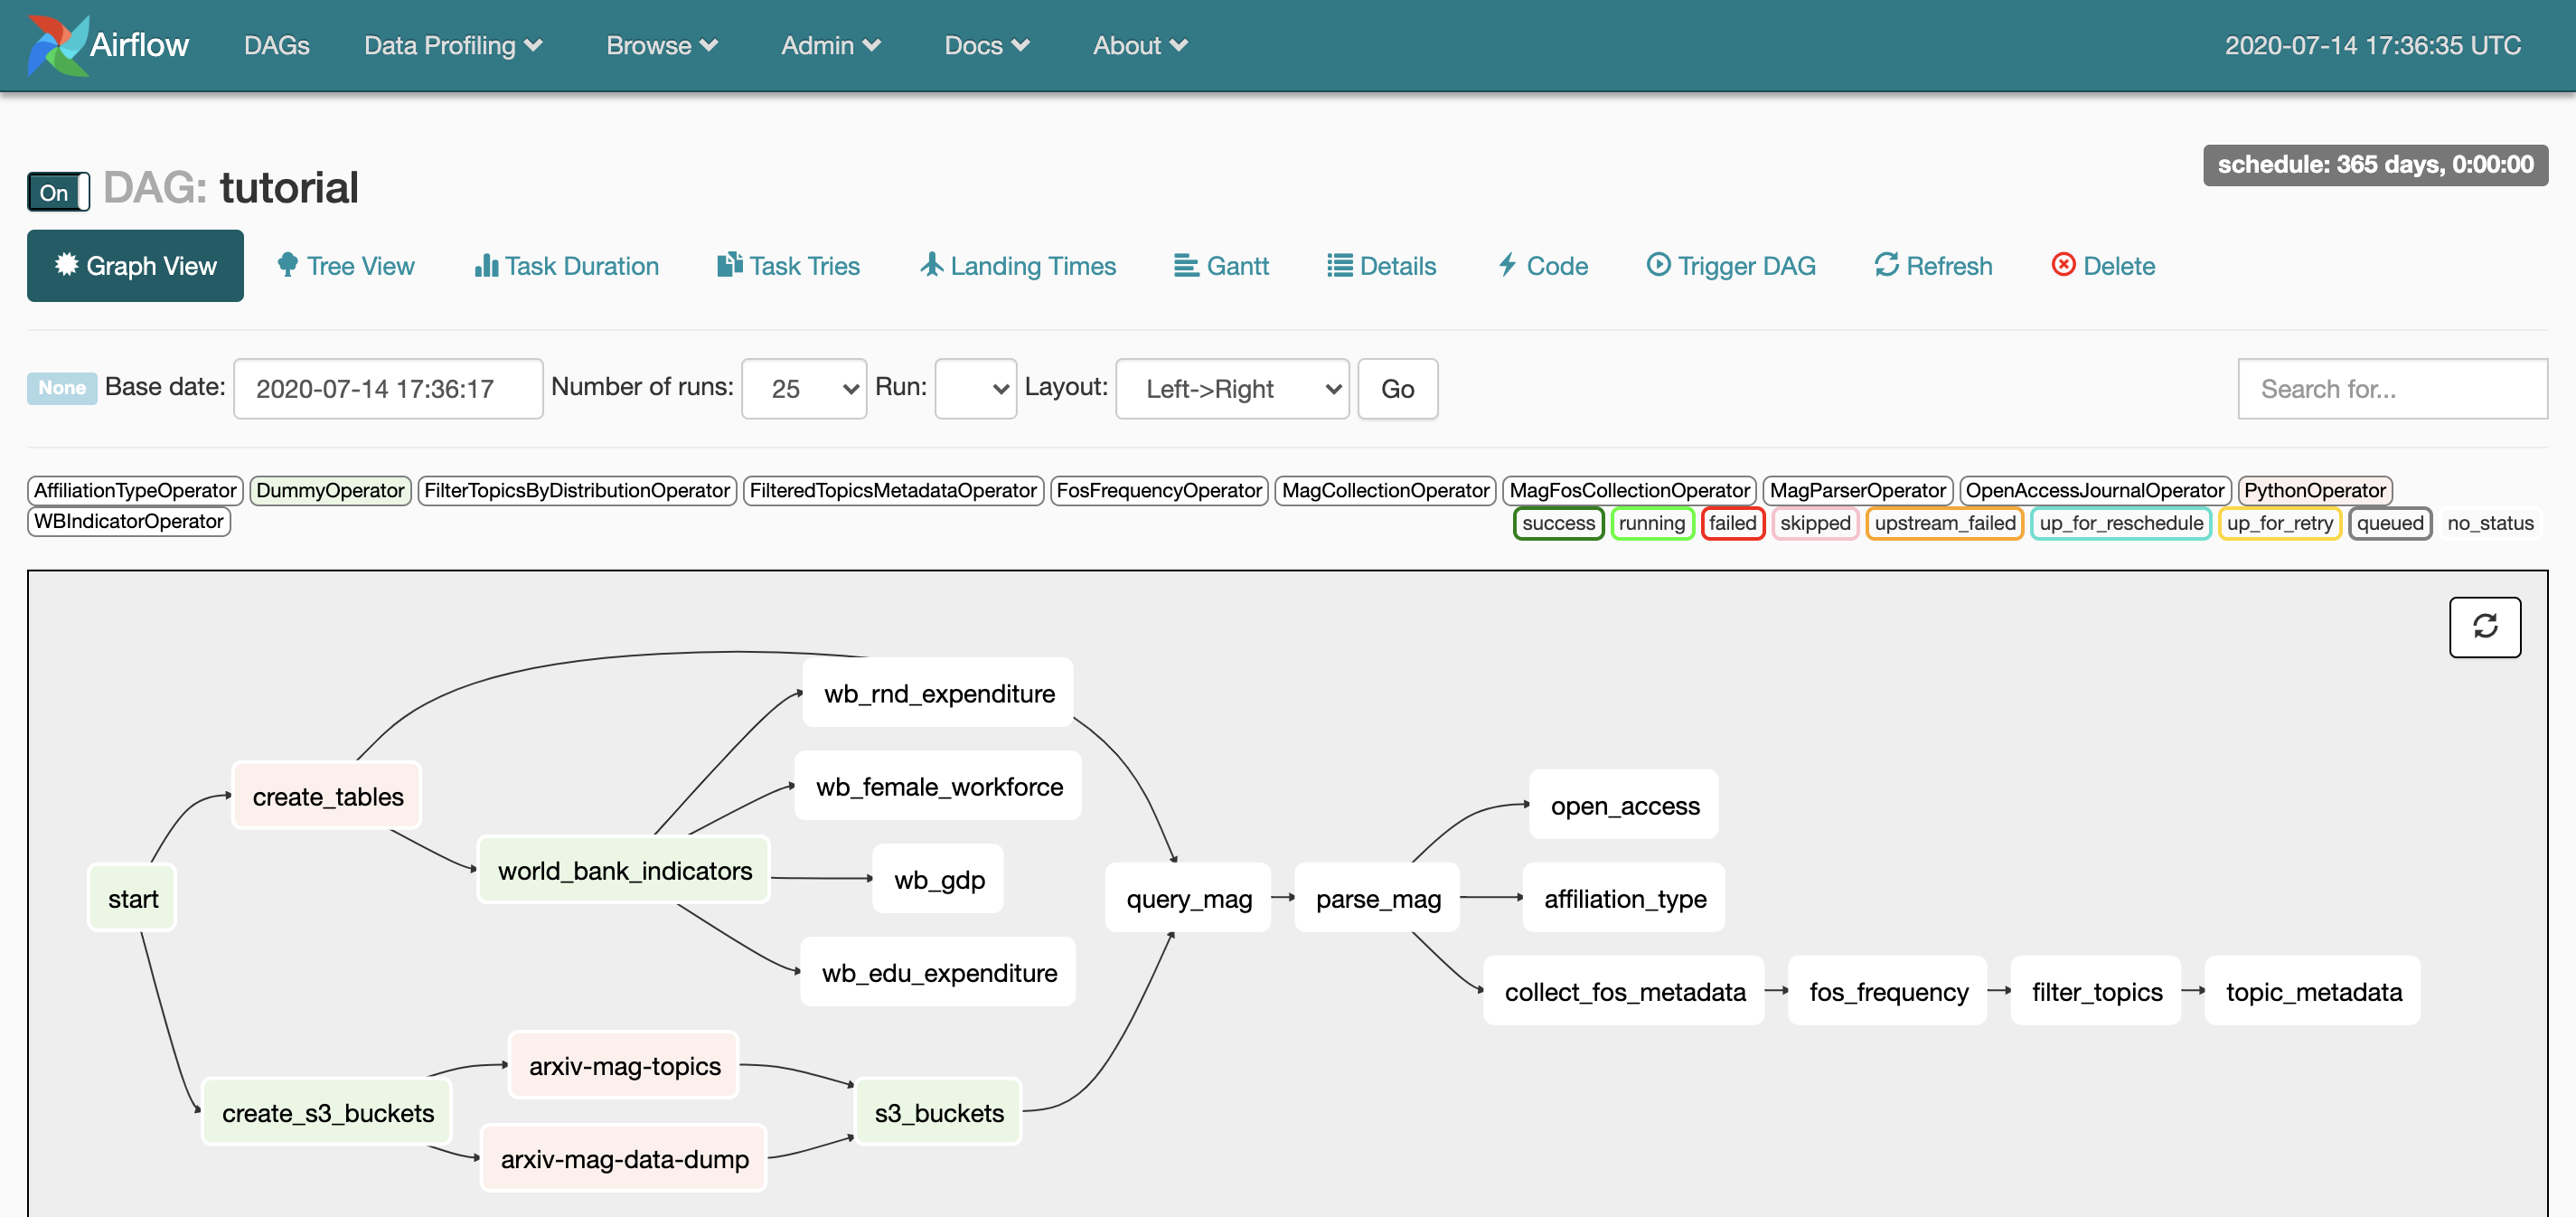
You can inspect the DAG in different ways, let's choose the Graph View. You can see all the tasks and their dependencies in the DAG. Let's list the tasks in the tutorial DAG:
- Create Orion's PostgreSQL database and tables.
- Create AWS S3 buckets.
- Collect four indicators from the World Bank.
- Query Microsoft Academic Graph with the configuration parameters we set in step 2.
- Parse the Microsoft Academic Graph response and store it in the PostgreSQL database.
- Tag open access publications.
- Tag non-industry author affiliations.
- Collect metadata and calculate statistics on the Fields of Study used in the publications we retrieved.
- Assign a set of thematic topics to the academic publications based on their Fields of Study.
Click on Trigger DAG. It will run all tasks in the pipeline. The status of the DAG will change to running and the border of the tasks will turn green as they are completed successfully.
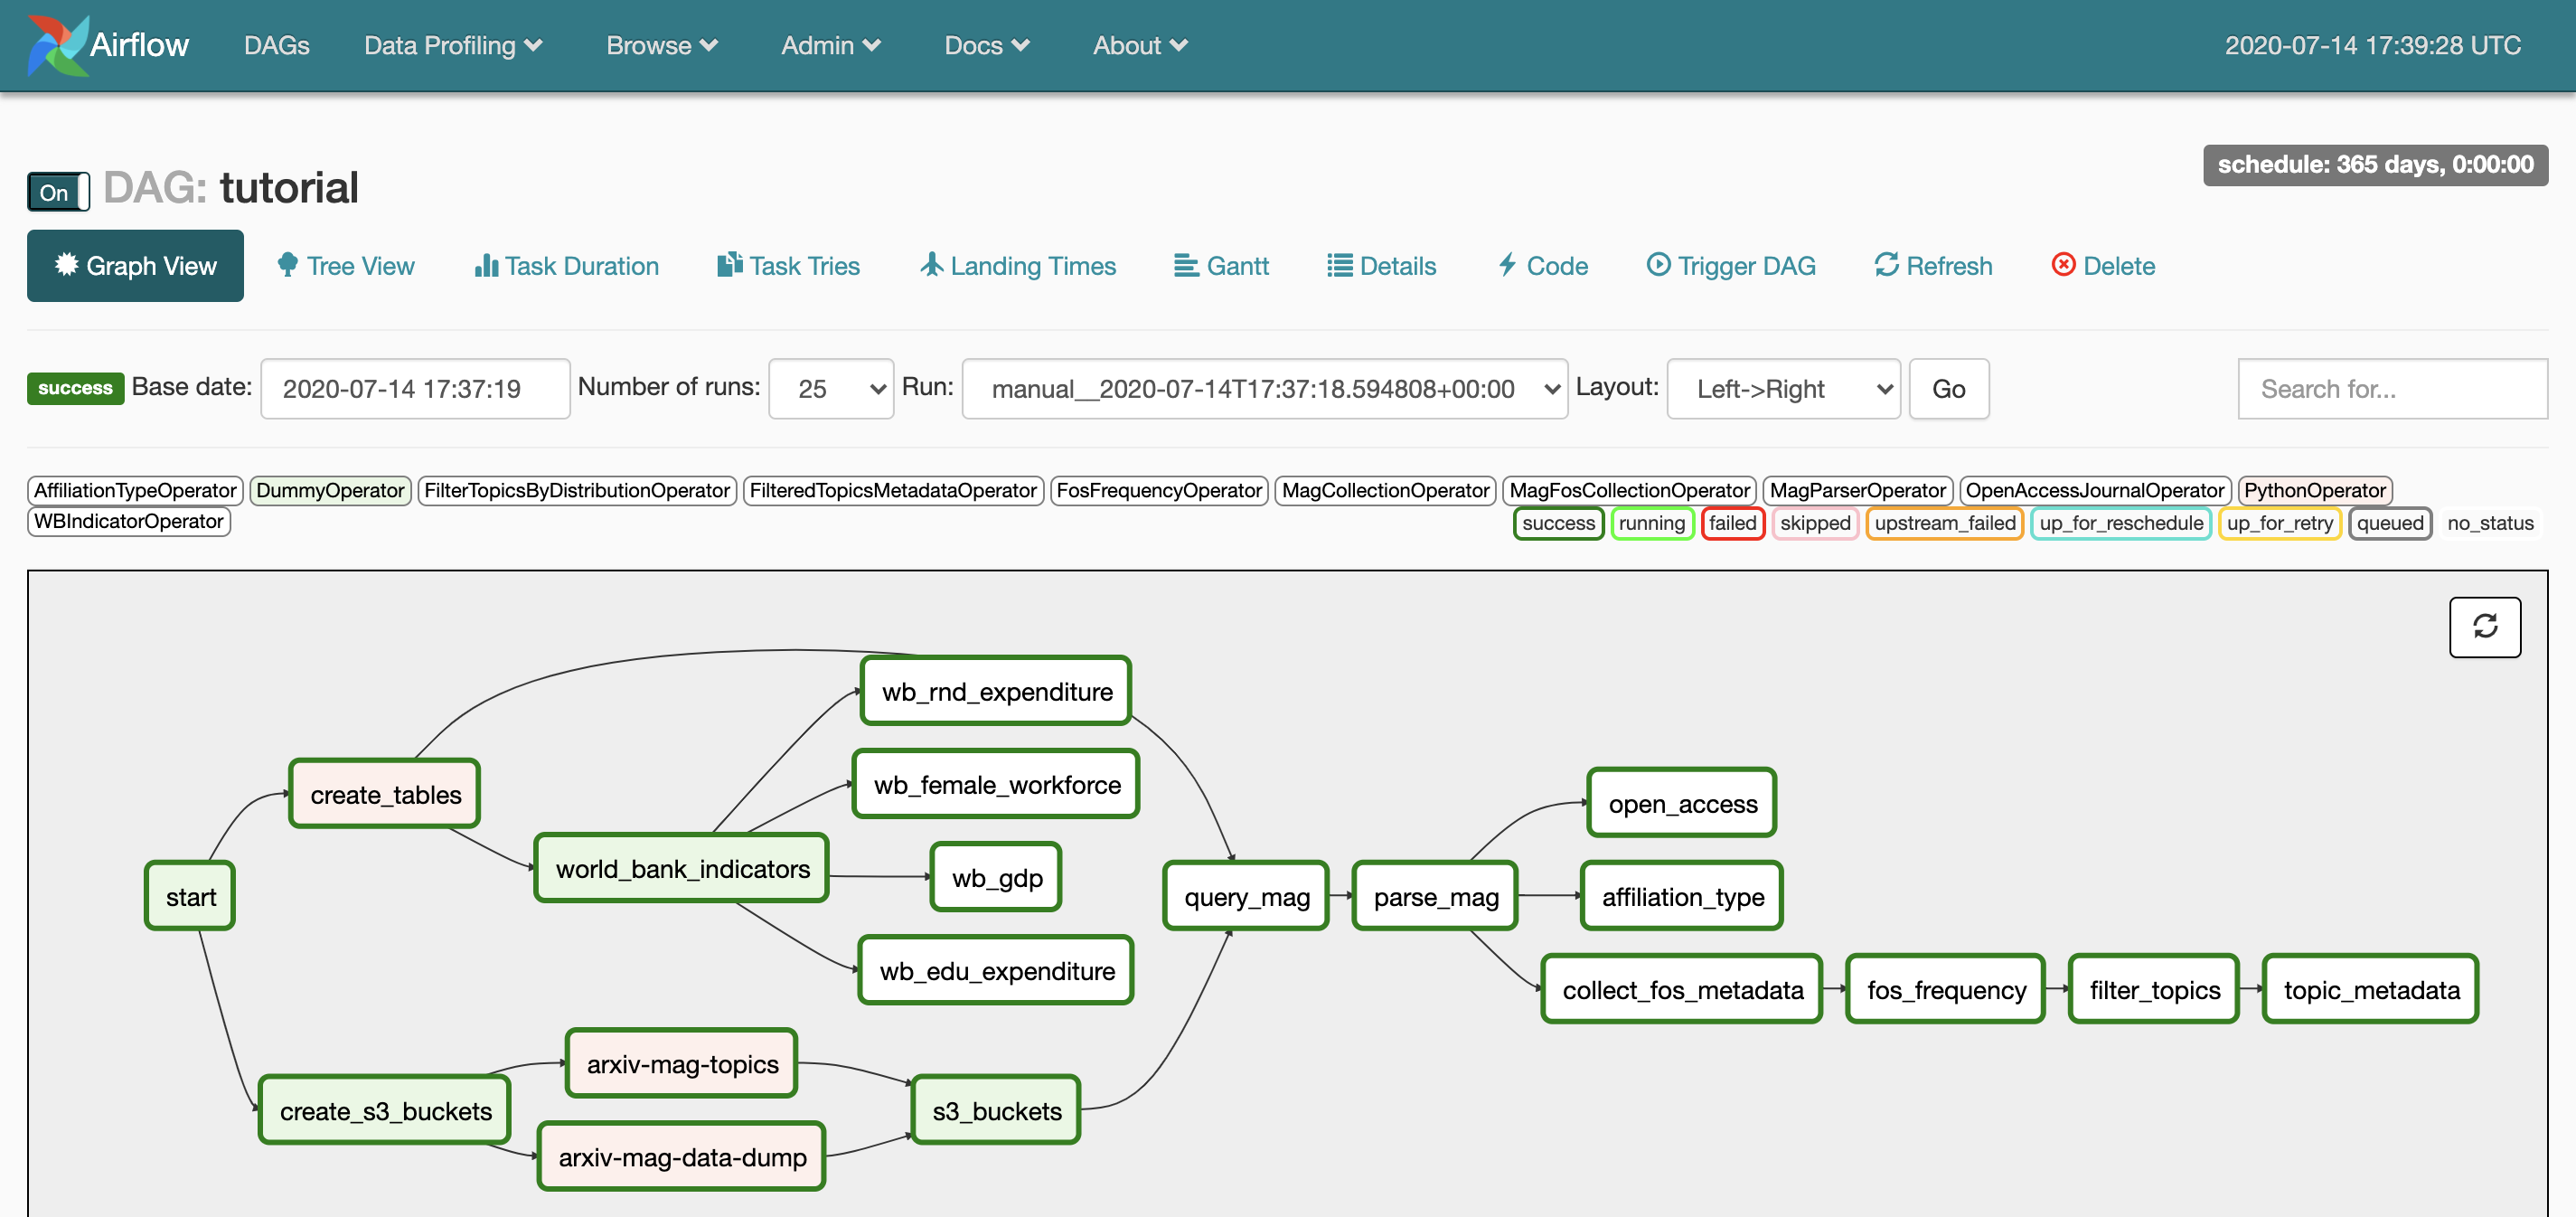
The run will be completed once the status of the DAG changes to success.
Access the database
There are three ways to access the database.
Using psql
If you have psql installed, type in your terminal:
You will be prompted to type your password which is admin (we set it in the .env file).
Using the docker container
If you do not have psql, do the following to open the the postgres container in interactive mode:
Using SQLAlchemy
This is the most useful way if you plan to use the data in your analysis. You can either access the data from the docker container or export the database to your local PostgreSQL distribution. Let's do the latter.
While the docker container is running, type the following in a separate shell to store the arxiv_cl database in a sql file:
Shut down the container, open your local PostgreSQL distribution and type
to load the database dump in a local database named arxiv_cl. Note that you have to create the local database before loading the dump. You can then use Python's SQLAlchemy to read the data.